

The optimum season for cleaning your dryer vent is the fall. When the temperature drops, the moisture vapor in the air leaving your dryer condenses. This liquid moisture gathers on the dryer vent’s walls, where lint combines and brakes airflow. As the airflow decreases, more lint builds, and the cycle repeats, resulting in a blocked or partially blocked vent.
The problem of cold air invading the dryer vent gets affected throughout the winter, creating lint buildup. So, if you enter winter with a clean vent, you’ll be one step ahead. In late spring, clean out the vent again to prepare for the high-humidity summer months.
Another reason fall is a perfect time to clear up your dryer vent is that you use a portable (or plugged-in) leaf blower every weekend to keep leaves off your lawn and out of your flower beds. It proves to be a beneficial tool during the early stage of maintenance.
What Tools Will Be Needed To Clean Up Your Dryer Vent
Lint-removal extension kit: holikme at amazon
Portable leaf blower kit: EGO power+ at amazon
Lint removal kit: ontel product at amazon
Advance kit: Eastman lint remover at amazon
The Basic Process
The specifics and complications of cleaning your dryer vent depend on the vent length and the number of bends. The smaller the duct, the easier to clean. Unplug and pull your dryer away from the wall, whether it’s gas or electric, so you can reach it. Only move a gas dryer far away from the wall to avoid straining the flexible gas line.
Dryers placed in flats and townhomes often have longer dryer vents to reach an exit on the outer wall. You may require a strengthened kit or extension rods to handle the longer vent lines.
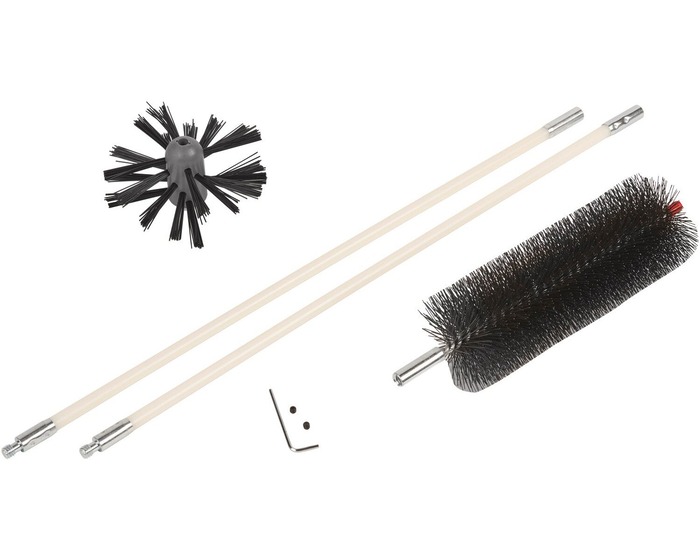
Basic Kit

How to clean your dryer vent Step-By-Step
REMOVE LOUVERS AND GRILLS
Remove any flexible louvers or grills from the outside vent. Use a spring clamp to keep the terminal’s hinged top open. Remove any lint, and clean the protector from the fabric softener if a bit of oily substance is left.
DISCONNECT YOUR DRYER
Remove the flexible connector that connects the dryer’s back to the vent terminal in the home. Remove metal tape or clamps that connect your dryer vent pipe. To avoid breaking the connector, use gentle pressure while removing it from the wall duct. You should now be able to see inside. Vacuum up any lint or around the hole. Repeat this procedure on the outer duct. Otherwise, try physically clearing trash from the outside.
GIVE THE LEAF BLOWER A QUICK BLAST
For the long dryer vent, insert the leaf blower around the seal vent. Once everything is in place, give the leaf blower a quick blast. Repeat many times; You may leave it blowing for up to 30 seconds. It should remove all lint from the external duct and clean the area around the exterior vent.
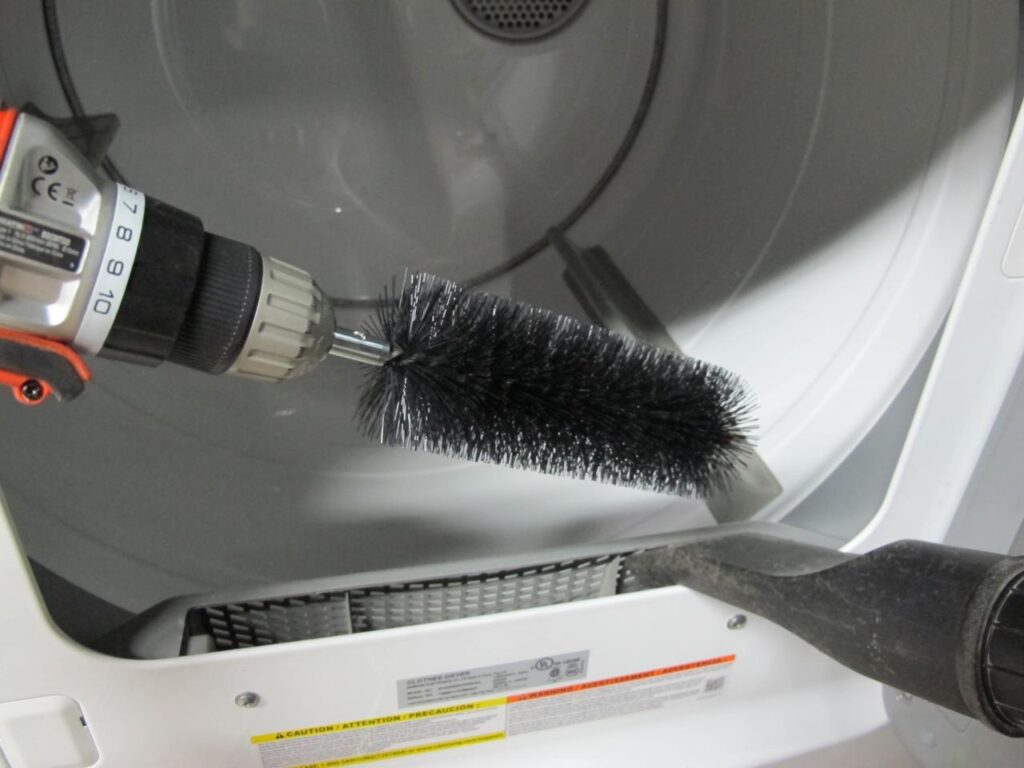
GO DEEP AND CLEAN WITH BRUSH AND RODS
Put the rod’s brush end into the duct. Push the brush as far as you possibly can. The process may require several attempts depending on how many twists and bends your vent has. Then insert rods that can reach deeper. Attach the dryer brush to your power drill and put the brush to the end of the rod into your duct. Then spin it clockwise on medium power. Push and pull carefully. As you go, lint and dust will stream out.
WRAP WITH SAFETY TAPE
Wrap electrical tape around the threaded connections to secure the pairs of dryer cleaning rods. It protects you in case you accidentally reverse the drill. It reduces the chance of twisting and losing the rod parts within the vent.
Insert a rod piece through the vent and connect the next similarly. Connect multiple rods, so the cleaning brush emerges from the home’s vent terminal.
Brush each part of the rod back and forth to remove any lint sticking to the vent wall. For short dryer vents, attach the cordless drill after connecting the rod ends and spin the vent clean.
Brush the rod back and forth and attach the drill only after the final piece of the rod has been joined and taped for long sections of the vent (up to 20 feet). Then, while carefully backing the rod ends out of the vent, spin the drill forward at low speed.
Then, while gently backing the rod ends out, slowly rotate the drill forward.
Some people use the vacuum fitting included with the dryer cleaning kit. This fitting fits over the vent terminal and allows you to use a shop vacuum while cleaning the vent. The vacuum tube connects to the broader hole on the fitting, while the cleaning rod goes through the smaller hole. However, if you have a vent with several twists and turns, it would work for you.
RECONNECT AND CELEBRATE
You WON! Hurray, the cleaning is complete; reconnect the dryer to the vent and plug it back in. Cleaning out a dryer vent isn’t captivating, but you stepped up to the challenge and earned a lap of honor. Turn on your dryer and listen to the lovely sound of success as the air passes gently out the vent. There will be no more clammy clothing. And you did it all yourself.
HOW TO PREVENT FUTURE BUILDUP
To avoid lint fibers from messing with your future drying, remove the lint trap filter at the outer end of your dryer door and clean it out before each cycle. Routine dryer maintenance should include removing any buildup within the vent with a long-handled brush.